
-
Login to ESXI server and click on Create / Register VM button.
-
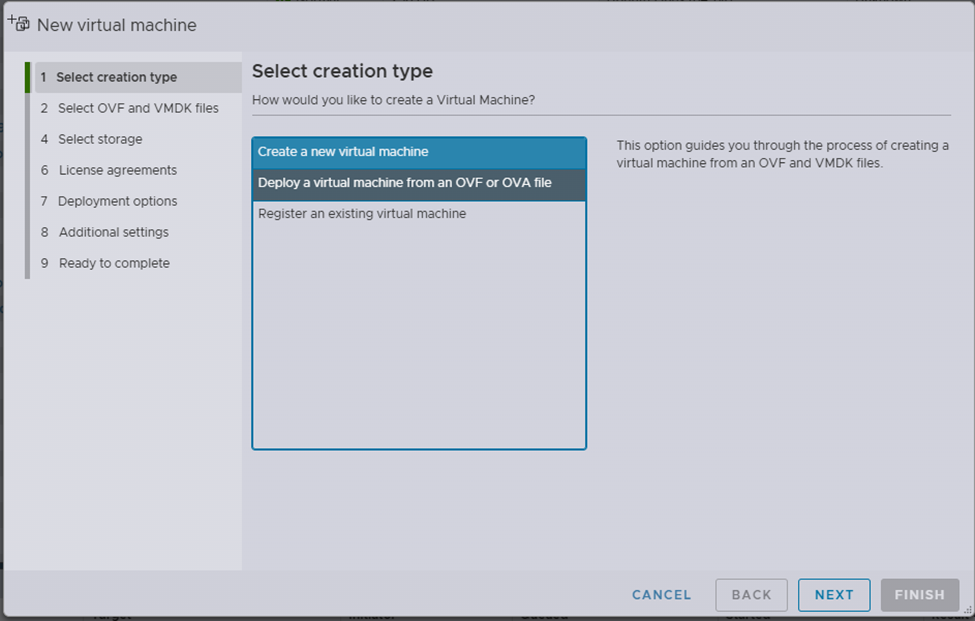
Select Deploy a virtual machine from an OVF or OVA file option and click on Next.
-
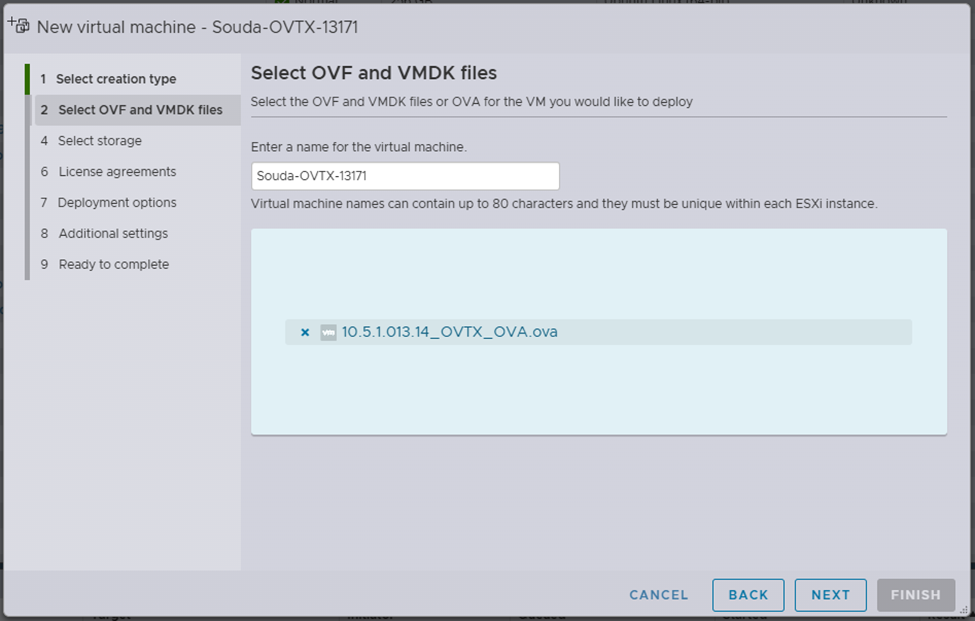
Enter the Name (ex: ovtx-13171) and click on Click to select files or drag/drop option and select the downloaded OVA file.
-
Click Next, then click Next again.
-
Select the NIC from the dropdown that matches your network, click Next, then click Finish.
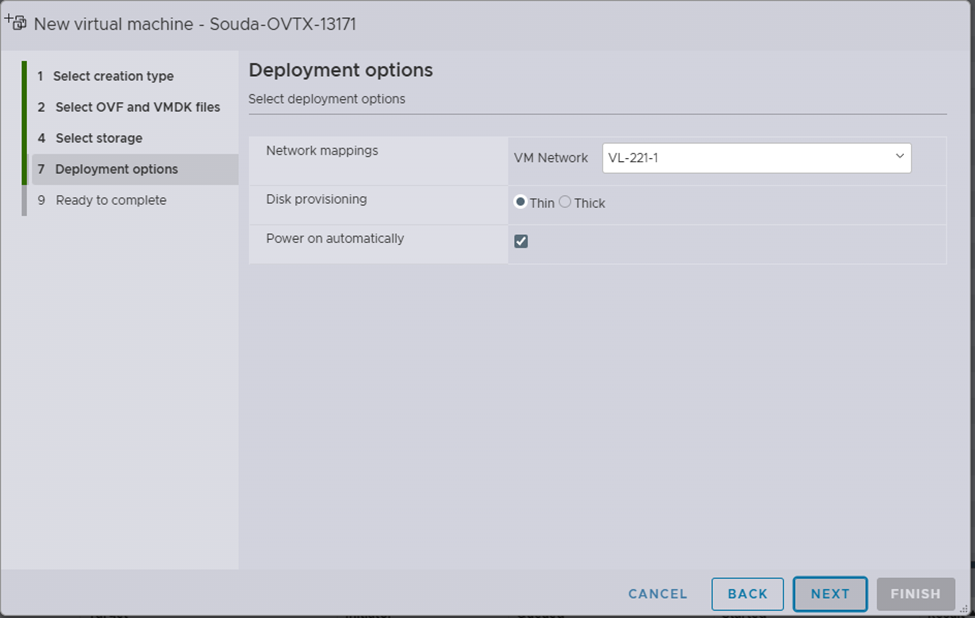
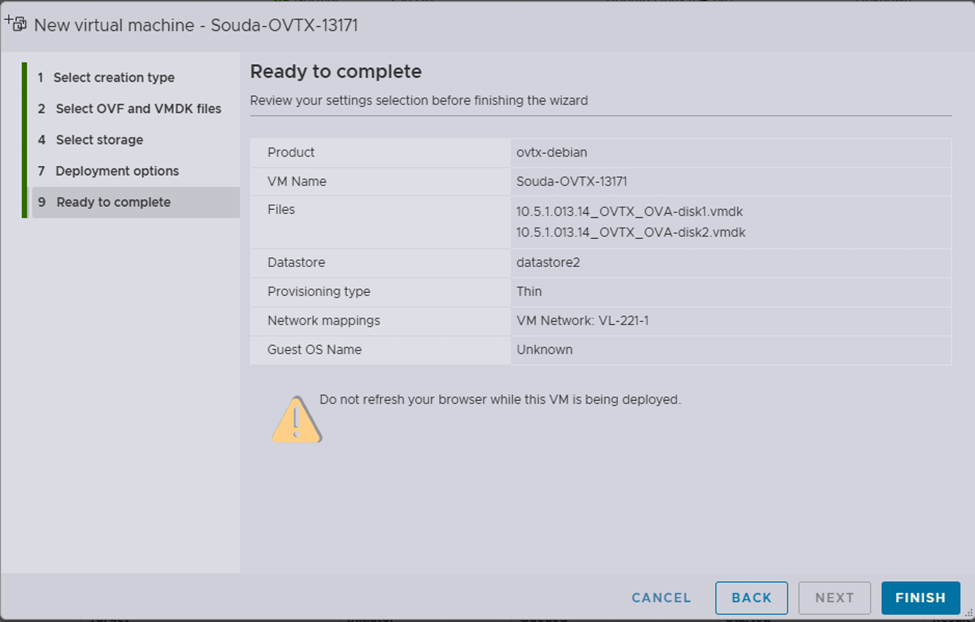
Ignore the warning message “A required disk image was missing”.
-
Wait until the process is completed.

-
Open the console of the created VM and click Enter.
-
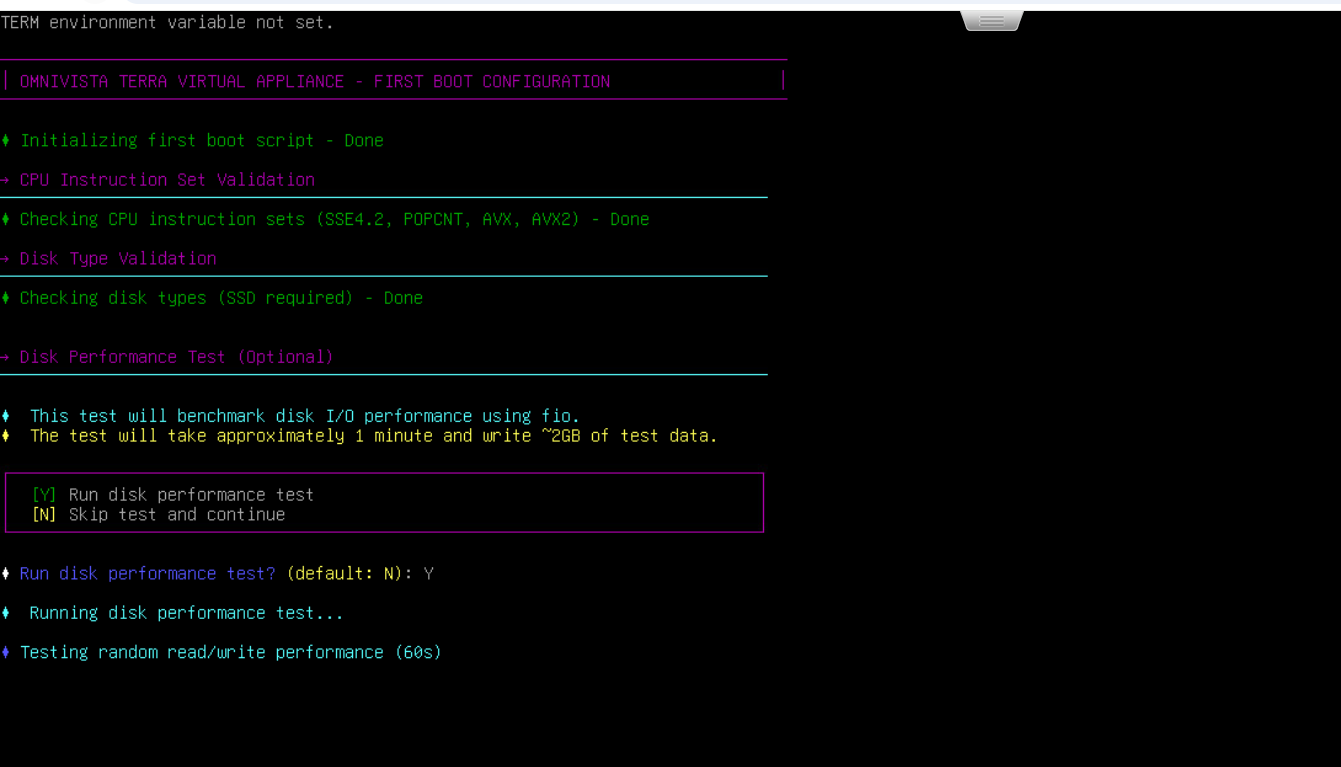
Disk Performance Test:
-
Enter "N" if you want to skip this step.
-
Enter “Y“ if you want to run Disk Performance Test
-
-
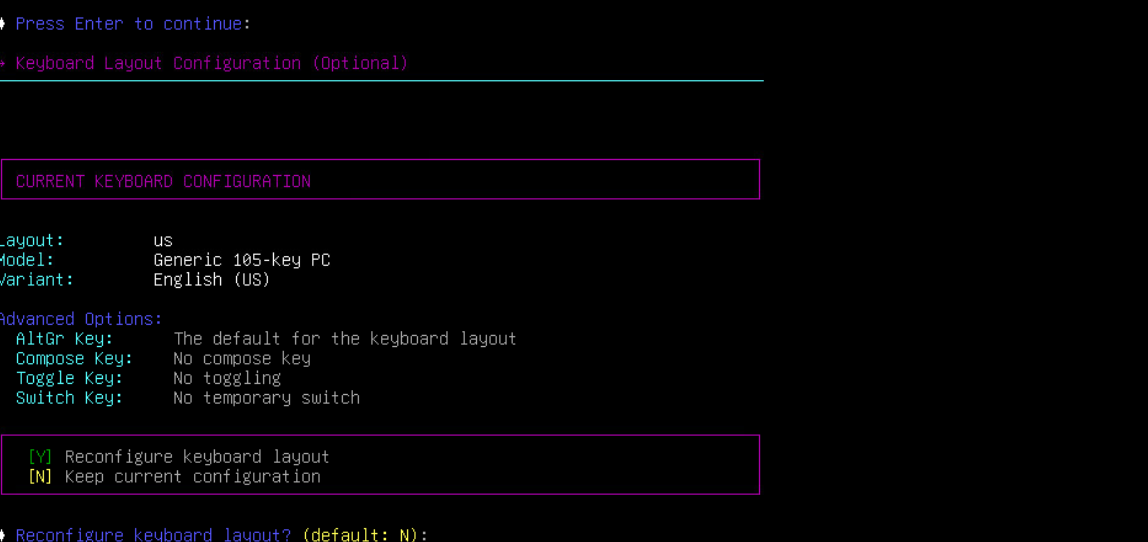
Follow the screen prompts to configure the keyboard options.
The keyboard configuration:+ Enter "N" if you want to use the default keyboard settings.
+ Enter “Y“ if you want to customize them
-
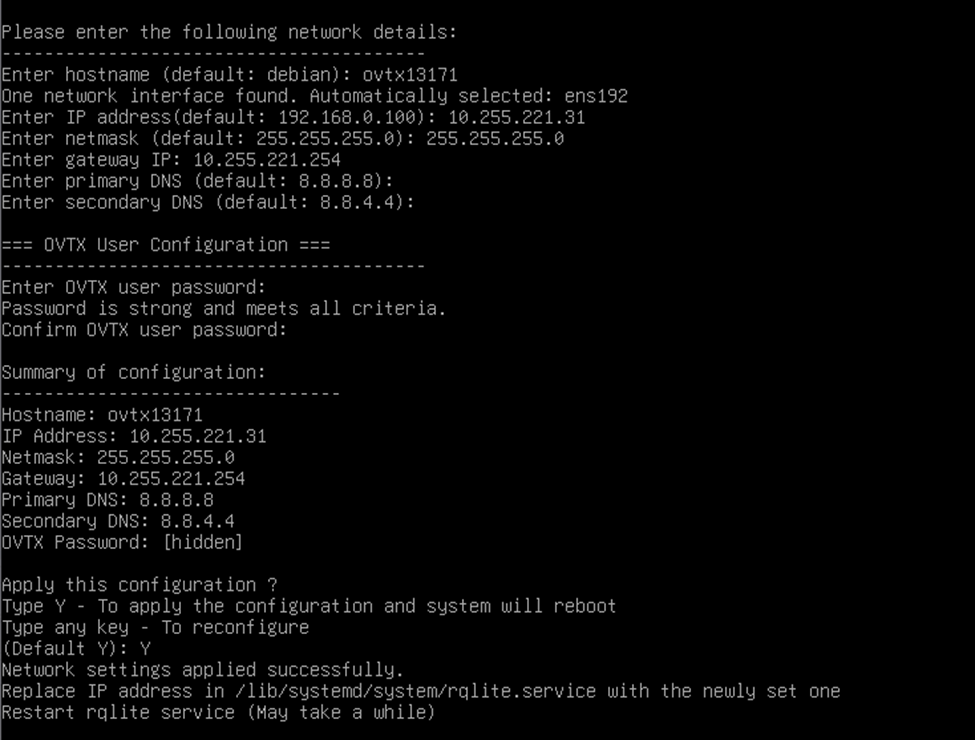
Enter the hostname: For example : ovtx13171. (Use a different hostname for each of the three VMs.)
-
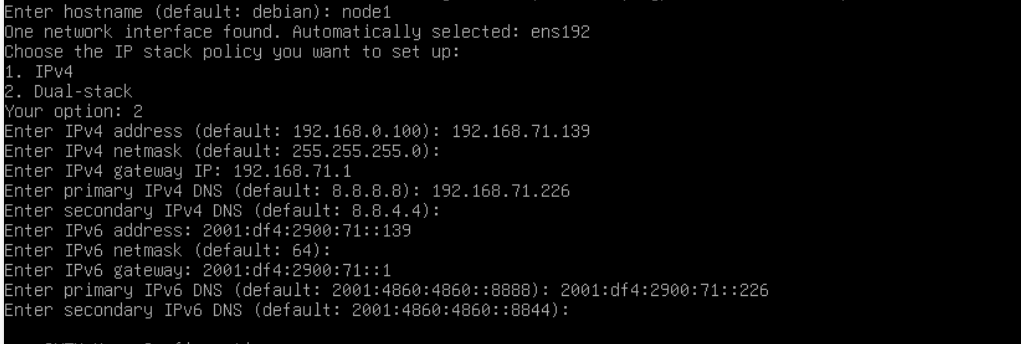
Choose the IP stack policy.

If you enter 1:
▪️ The system will use IPv4 only.
▪️ AP and Switch will be managed through the IPv4 network.
▪️ You only need to enter IPv4 details in the next steps.
-
-
Enter IP address: For example 10.95.161.31. (Use an available IP address from your network corresponding to the NIC selected in the step above)
-
Enter netmask: For example 255.255.255.0.
-
Enter gateway IP: For example 10.95.161.1.
-
Primary DNS and secondary DNS can be kept blank (it takes default ones).
-
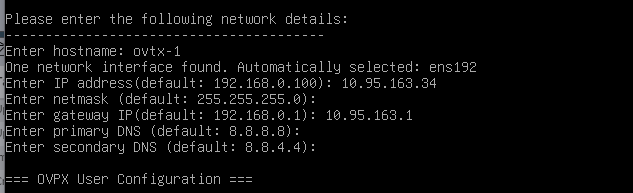
Please make sure your DNS server(s) are able to resolve all domains that you may use (for SMTP, external AD, etc...).
If you enter 2:
▪️ The system will use Dual-stack (IPv4 + IPv6).
▪️ AP and Switch will be managed through both IPv4 and IPv6 networks.
▪️ You must enter both IPv4 and IPv6 details in the next steps.
-
Configure the ovtx user password.
-
Enter ovtx user password:
-
Confirm ovtx user password:
-
Apply this configuration (y/n) : y
-
-
The system will reboot. Wait for sometime and then the OVTX login prompt will appear.
-
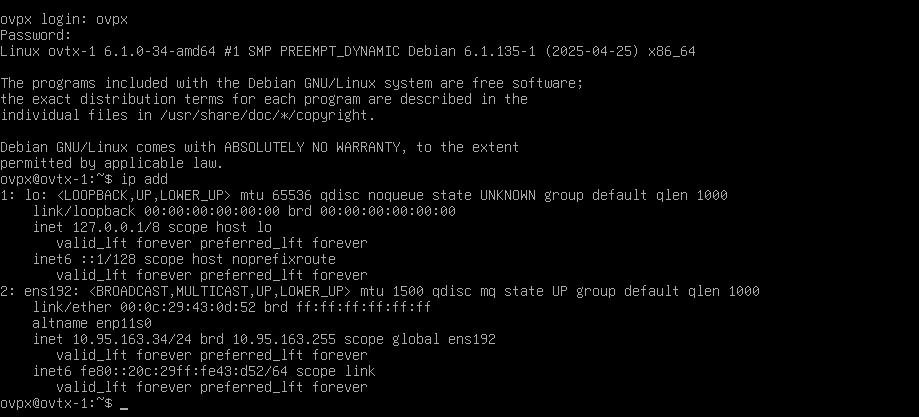
Login with username ovtx and with the configured password.
-
Run the command ip addr to confirm the IP address is correctly configured.
-
Create a 2nd and 3rd node following the above steps but with different IP addresses.
Access OmniVista Admin Center to Configure OmniVista Terra
After importing the VM and completing the first boot configuration, access the OmniVista Admin Center to create an account. See the OmniVista Admin Center online help for the next steps required to configure OmniVista Terra.